Of all the decision making that goes into creating an artist book, I have found the means of putting text on the page to be the thing that slows me down most. There are only so many options. You can print the text from the computer, but you are limited to your printer’s page size limits. You could make a transfer but that is slow and inconsistent. If you are lucky enough to have access to a letterpress shop, then go for it! However, if none of these things is right or available for your project, writing it out by hand can be the most appropriate solution.
For my Pluto book, I had this issue. The content of the book was a letter from Pluto to his mom, so hand written text would translate the feel of the book. As I was only making one copy, writing out the whole text was not an unreasonable amount of work. However, I wanted the text to be easily legible since handwriting has the potential to be hard to read.
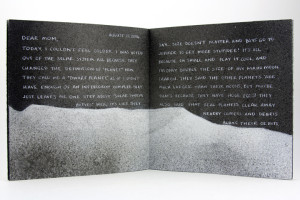
Knowing what I wanted to do, I had to devise a way to get the text neatly on the page in order to maintain consistency across the book. I was using drawing ink and a fountain pen writing nib to write the text so there was only one shot at getting it right unless I wanted to reach back to the days of scribes and scrape away my mistakes. Drawing lines on my paper in pencil wasn’t an option because I didn’t want to mar the paper surface erasing the lines after I had written in the text. Clearly, the only answer was to create a jig to help keep everything in alignment during the writing process.
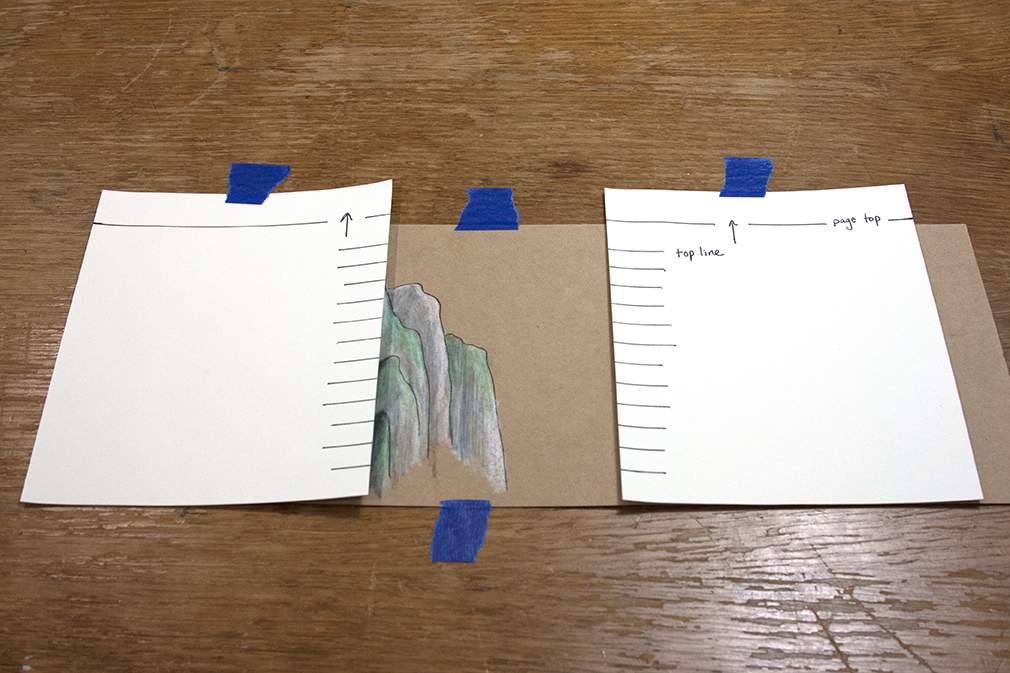
The following photos are a dramatization of this method. The images do not feature a “real book piece”.
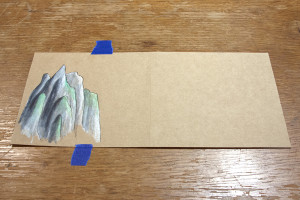 Once imagery has been put on the page and you know where you want the text to be, cut two pieces of paper longer than your page. They don’t have to be very wide…I would give yourself at least 3 inches in width.
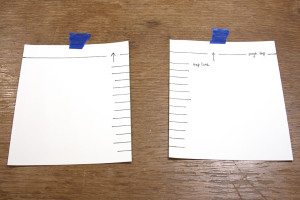 Lining the bottom of the jigs flush with the bottom of the page, make a mark for the top of the page, on each piece of paper. Next, lines are made along the edge of both jig papers to determine the spacing between lines. In order to find out what this spacing should be, write your text out on a practice sheet of paper as you want it to appear. Be as “authentic” to the final product as possible by marking out illustrated areas and using intended writing utensils as well. The writing implements used will influence your normal writing spacing. Write out the whole text so you know how big or small the writing should be in order to fit. Take the measurement from baseline to baseline and use this as your line spacing on the jigs.
After all of your marks are on the jig papers, cut a third piece of paper to serve as your writing guide. This should be wide enough to span your page width and extend from jig to jig. Make the paper long enough to keep the palm of your hand from rubbing across the page surface, especially over areas with illustrations.
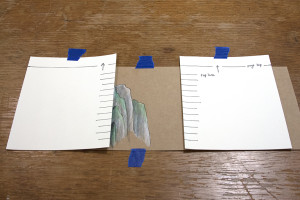 Now you want to secure the pieces in place so that there is no slipping while you are concentrating on writing. Use a dull tape to secure the book page to a table or cutting mat. Next, tape the jig papers in place on either side of the page. Tape the jigs down well! If they move and you don’t notice, your straight line will become a curvy one.
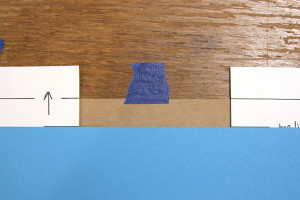 Line up the writing guide with the first marks on your jigs. I like to use small weights to keep this in place, however, if you find that the paper moves while writing, then use more tape.
 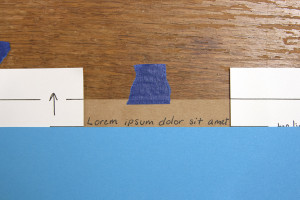 Once you reach the end of your page, move the paper guide down to the next set of marks and keep writing.
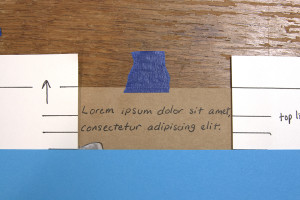 When you get to a point where there is imagery, allow some spacing for it and just continue writing. Work down the remainder of the page until it is filled.
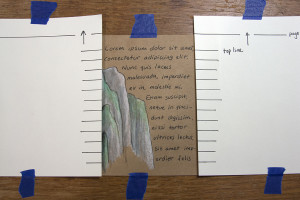 Finally, remove all the jigs, admire your work, and rearrange the setup for the next page.
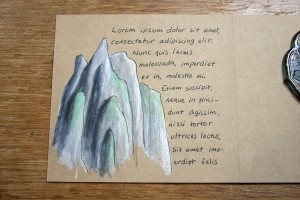 I loved how this method helped keep everything in alignment and protected the imagery from my working hand. For Pluto I had to write around planetary landscapes and have the text wrap as I moved lower and lower down the page. As the baseline paper moved down, I could preview the upcoming objects. All in all, a great solution to needing lined paper with out the lines.
In the event that you want lined paper but find yourself up against our ole foe, paper grain, I have explored a few options in an earlier post. I am always looking for interesting ways to solve this problem!
